Led edit 2014
Hello, friends welcome to my blog. In this blog, we learn about How to use Led edit 2014.
Software: Led Edit 2014
Steps to be followed:
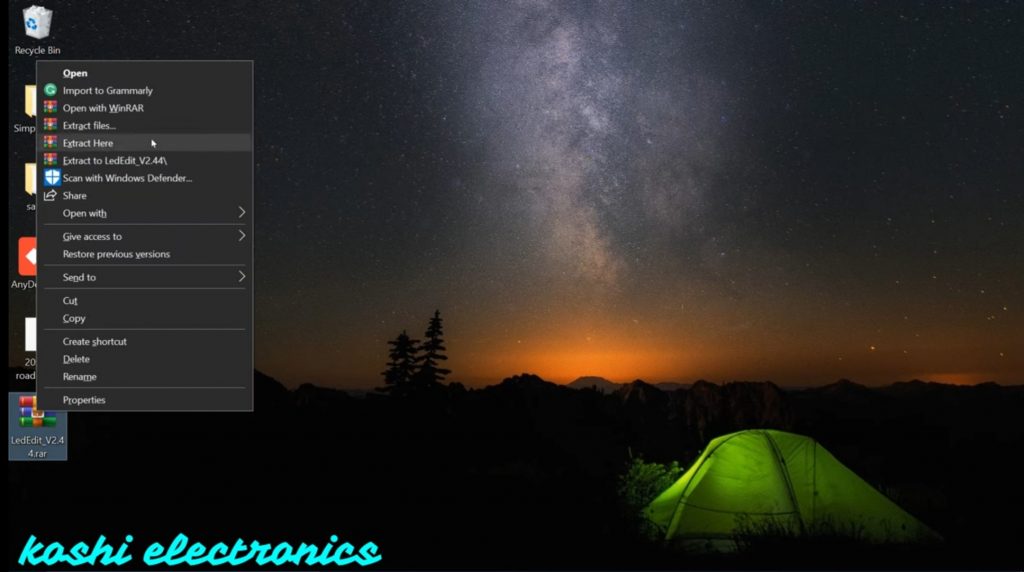
Step 1 If you Already install the software on your computer then right-click on Led Edit 2014 software the click on extract here.
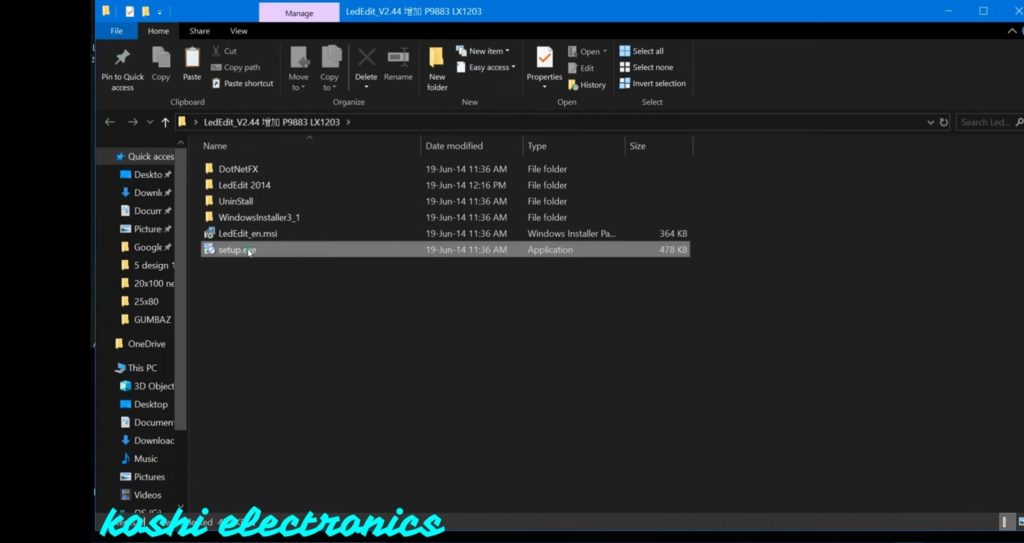
Step 2 After that folder is open. In this folder, we have set up a file option click on that and install it. After that open the software.
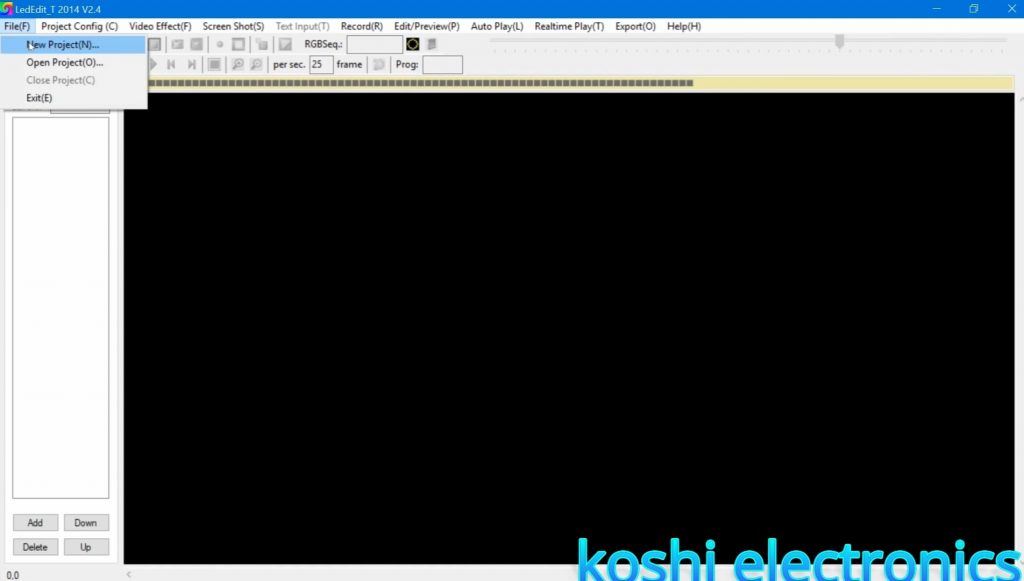
Step 3 Create the new project. Then fix the location of the file where you want to fix it. After that select the controller. If you don’t find the name of the controller then go to select the controller option. Here you can select your controller and after that double click on that, we see that controller is added to the list.
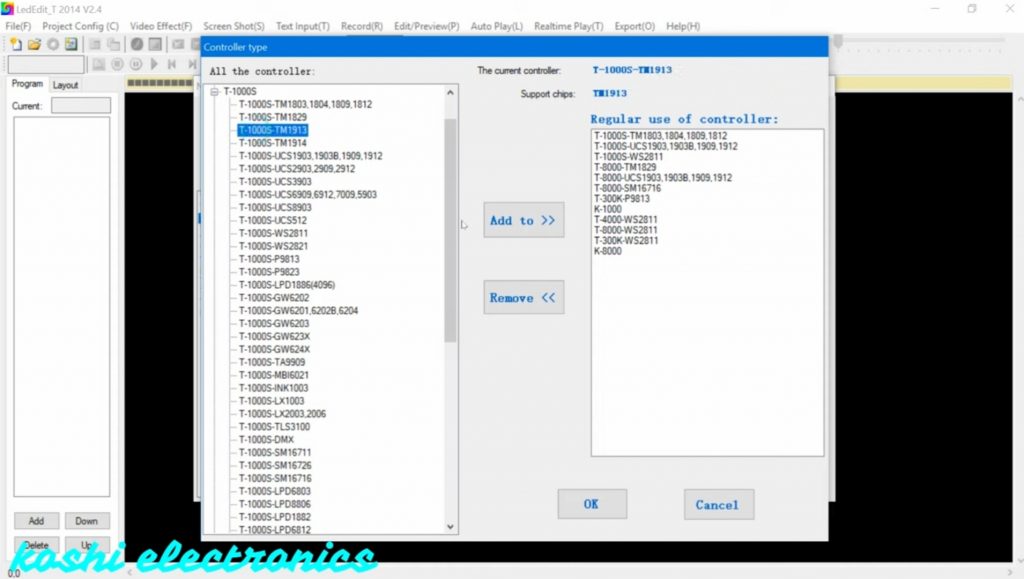
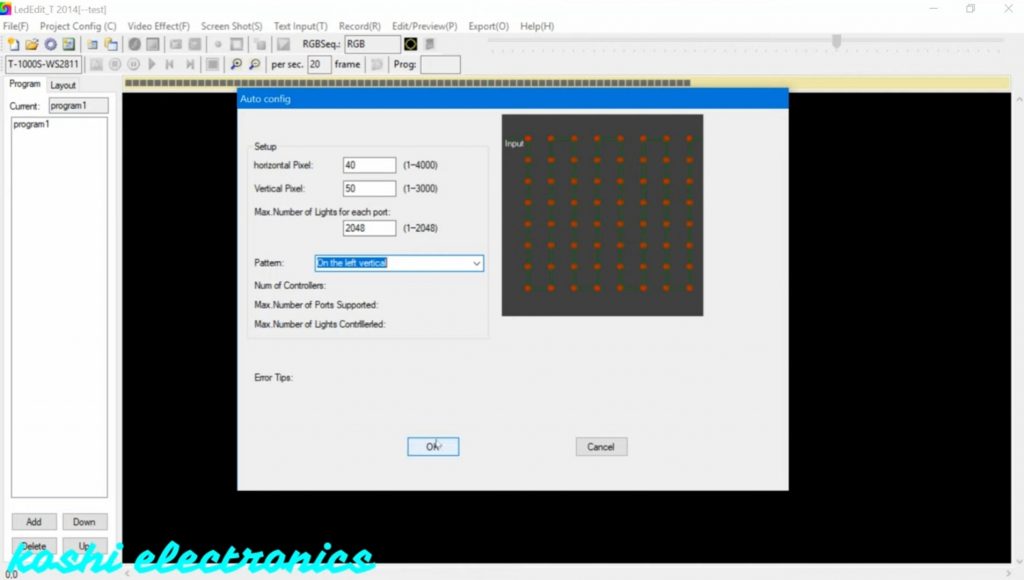
Step 4 After that we go to the light layout Next screen is open, here we enter the details as shown below. Then press ok.
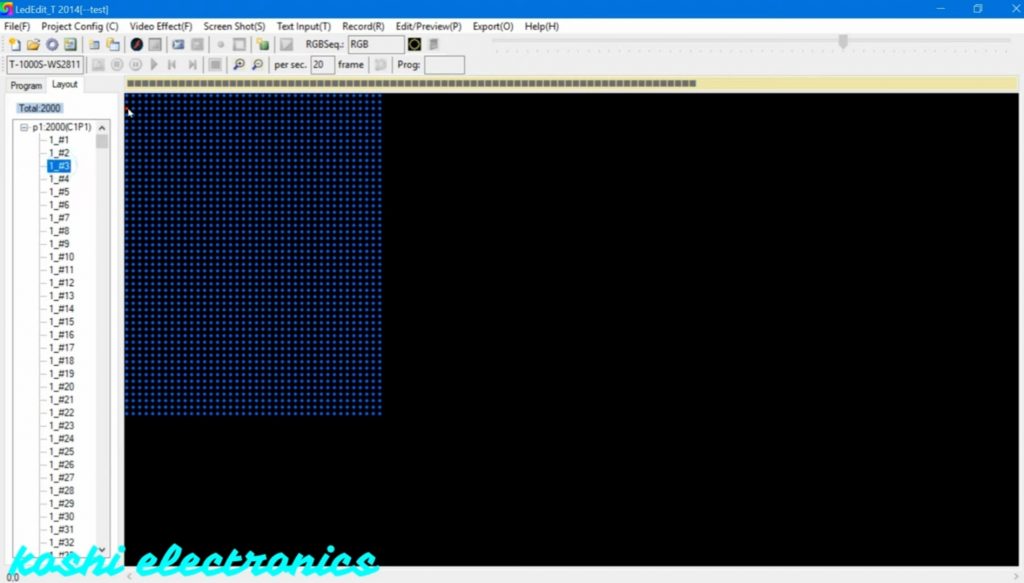
Step 5 If you forget where you start wiring then go to layout click on that there is a led list, where you click color changes.
Step 6 After that we open the video. Go to video effect click on the open video then the folder is open. Click on AVR. If you want to save your time click on the fast recording.
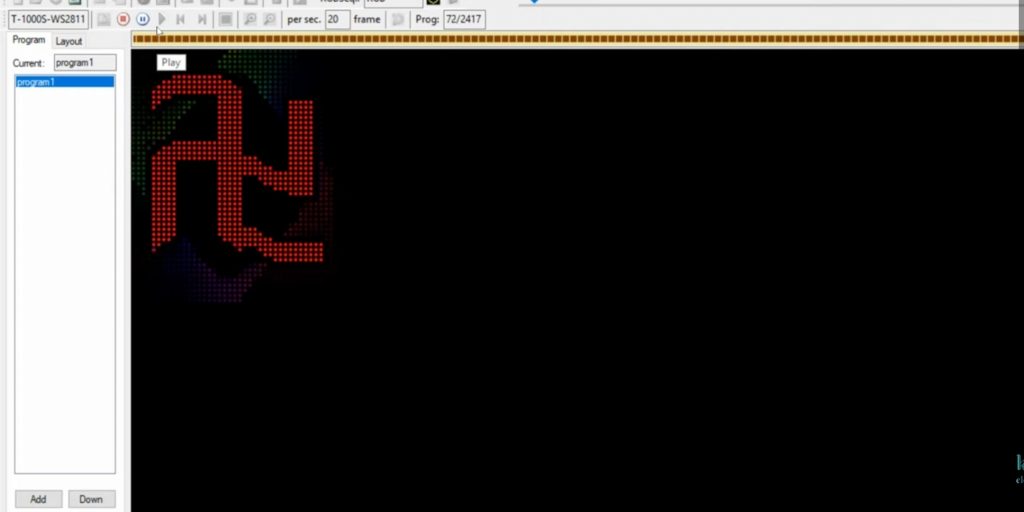
Step 7 If you want to record then press on the record button. We see that the recording is on.
Step 8 Now we also check SWF file, we select the effect. Go to the record option click on the fast recording. We see that fast recording is going on. If you want to record faster then click on F6 and for slow click on F7.
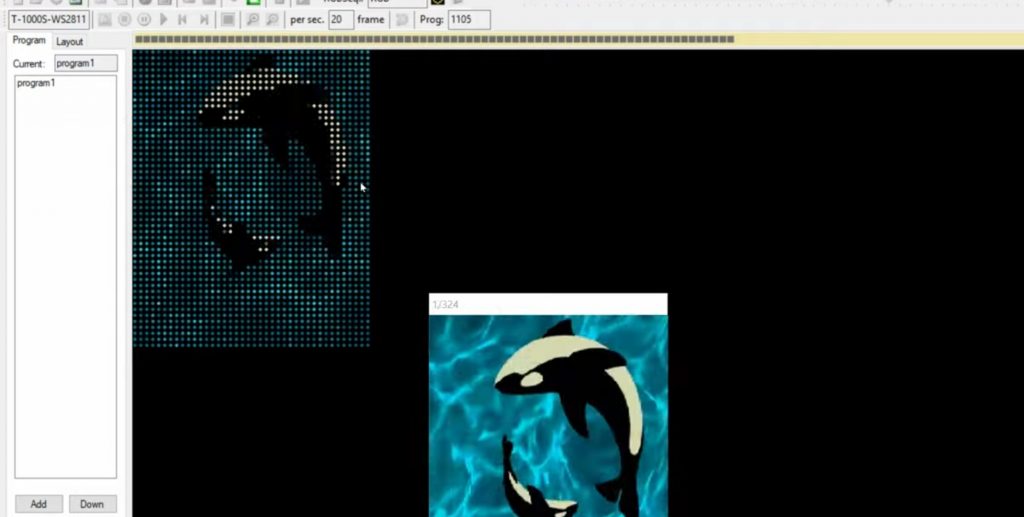
Step 9 For tool file select tool. Go to record click on the fast recording. We see that the recording is done fastly.
Step 10 After that you have to take output. For this click on export. Sometimes the export option is not shown so what you have to do is take some effect record them then export. Suppose we select the AVI effect, we see that some effect is missing so what we have to do is make that effect small. After that, we see no line is missing. After recording the AVI effect then click on stop recording and also press on close video effect. It is very important to do this otherwise the export option is not shown.
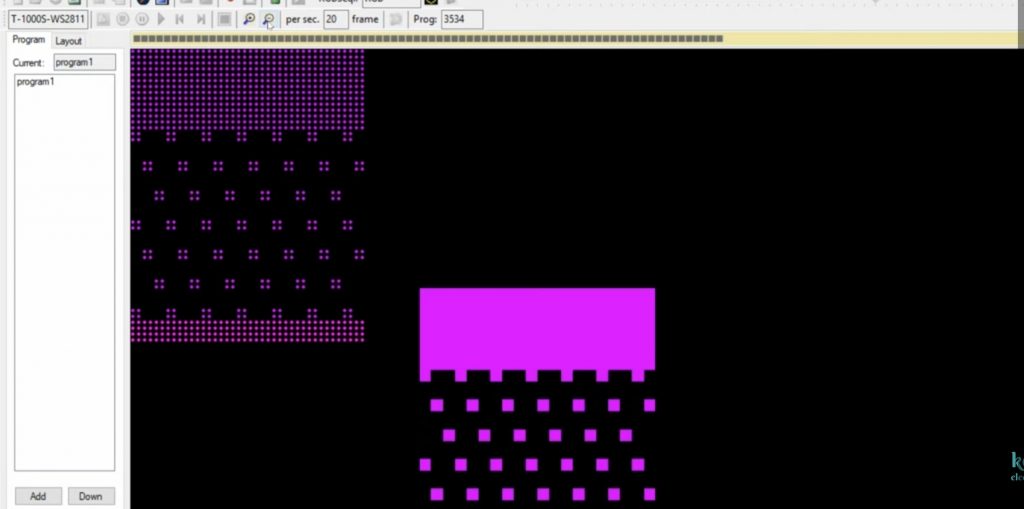
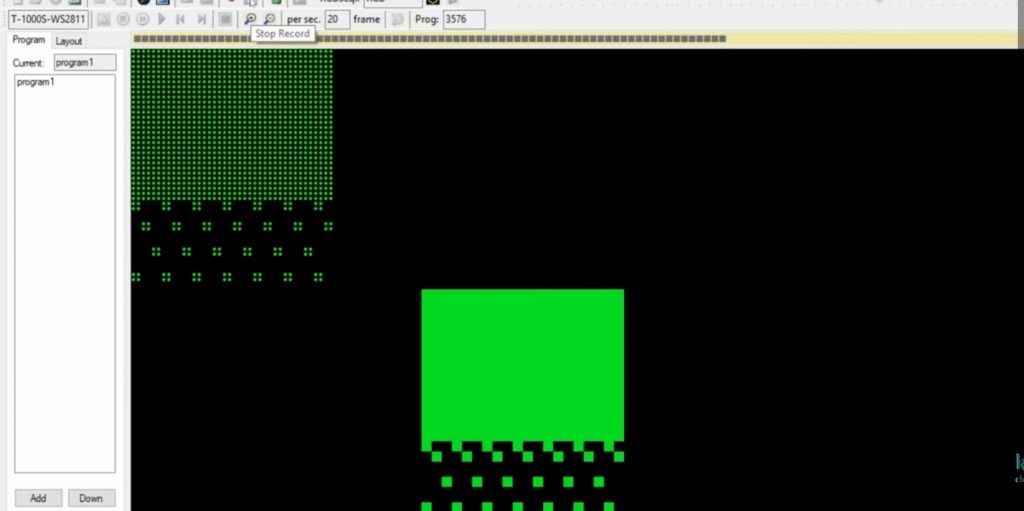
Step 11 If you want to remove some files then click double click on the program we see that effect is running. If you want to remove any effect from that you find out the number where that effect is started and ended. After that go to edit then click on delete upper frame number and lower frame number then press on ok. After this, you see that effect is deleted.
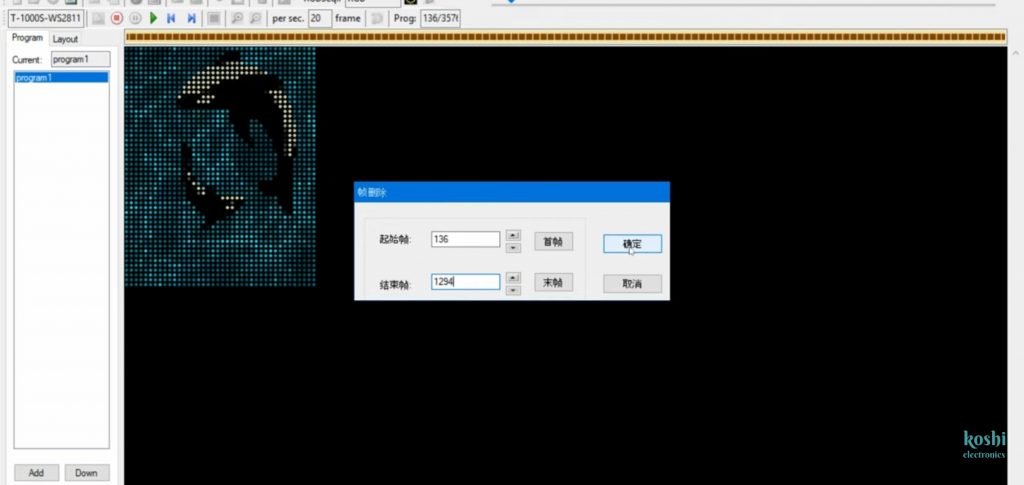
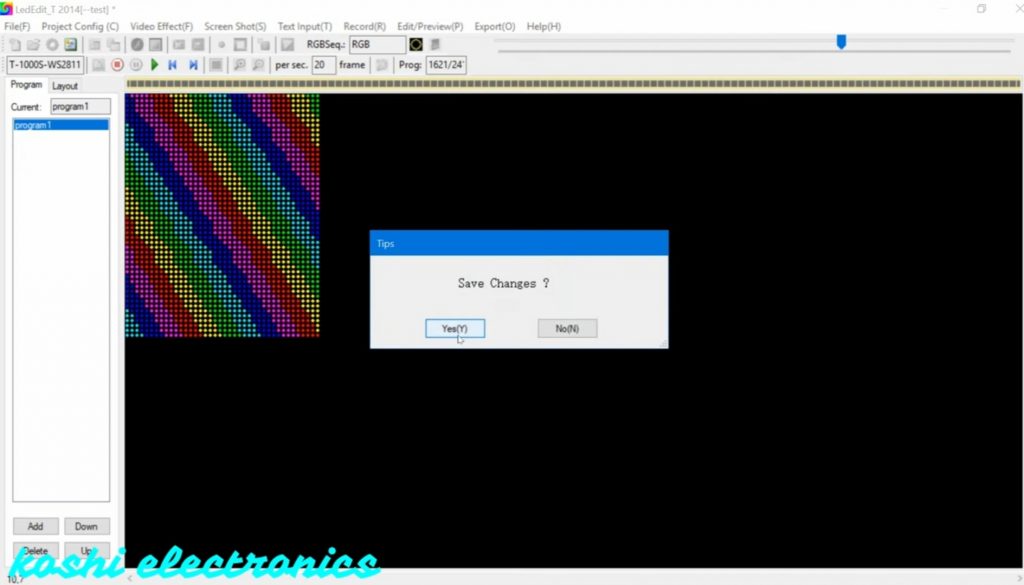
Step 12 After that when you press the stop button, there is a message shown on the screen whether you save changes or not click on yes. If you press on yes the program will change otherwise it will run as it is.
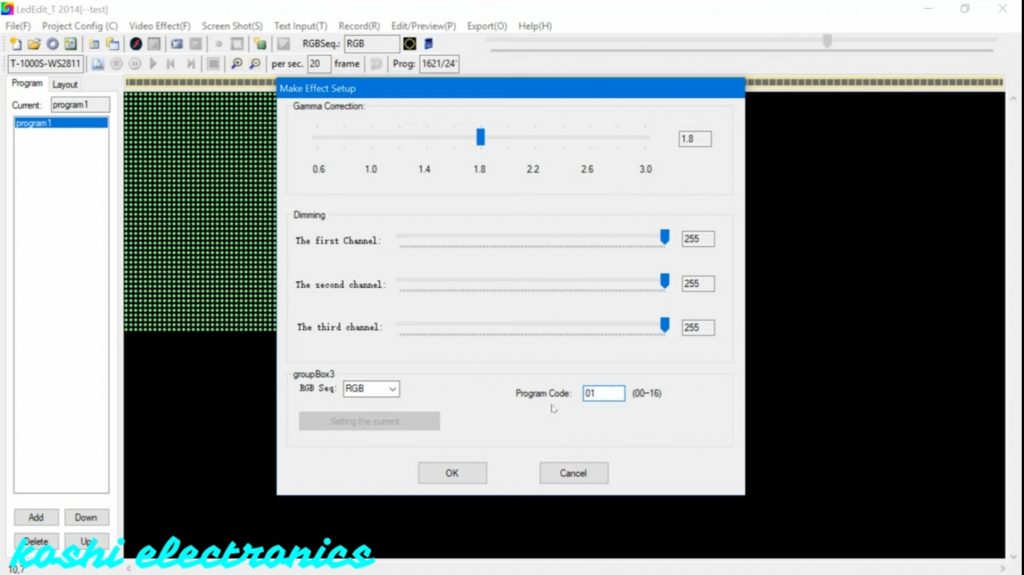
Step 13 Go to the export option click on export open. The next display is shown on the screen here nothing can be changed only we can change the program code. You can enter the program code which program you want to run that code is entered there.
Step 12 After that they will ask that where you want to save the file. According to you, you can choose your file location. Then press on ok. Here program is generated.
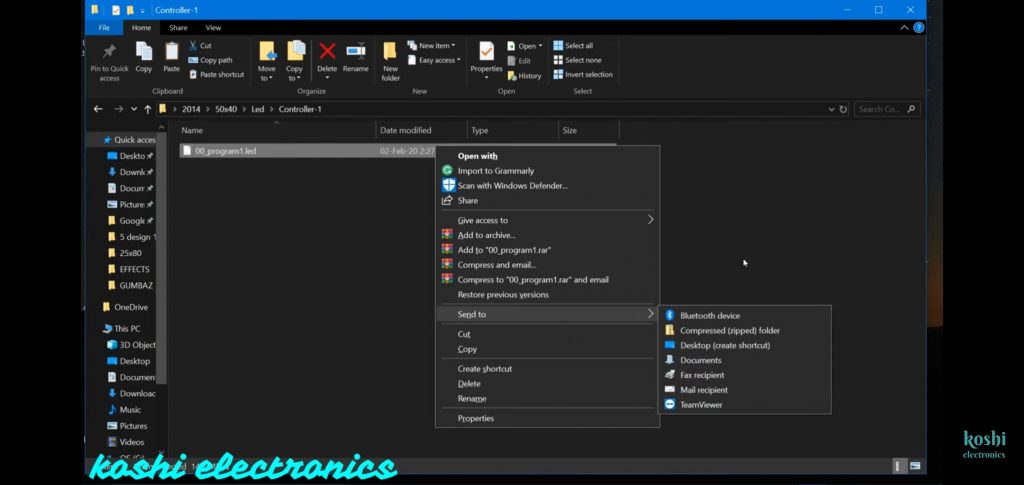
Step 13 Open led edit 2014 click on 50*40 folders, open it here we see the program file.
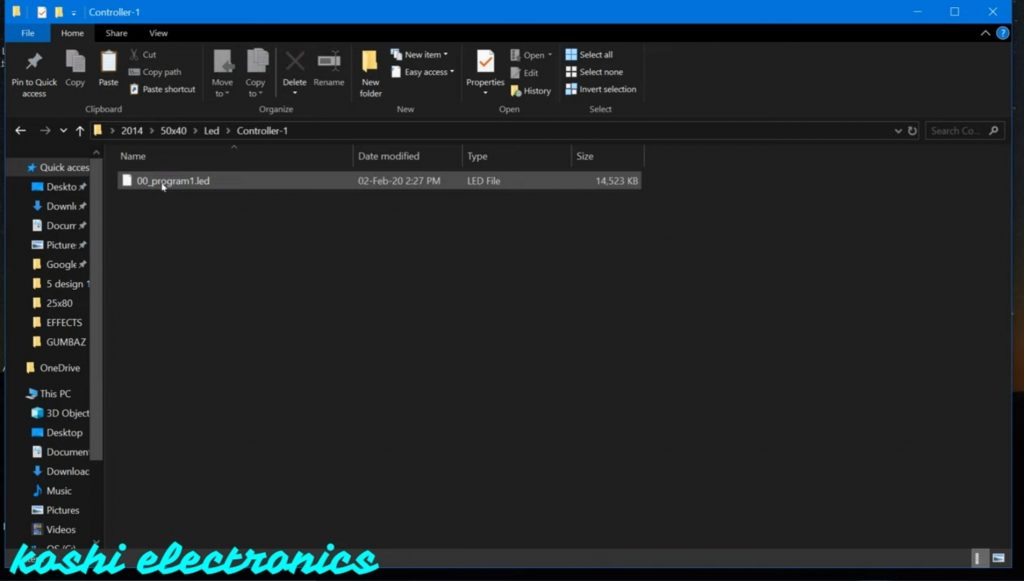
Step 14 After that right-click on program send this program to the memory card which you attached to the system. Before sending the program to a memory card firstly format the card after that send it. When you insert that card on t-1000 the program will run.
