double line P10 display with W0 Wi-Fi controller
Hello, friends welcome to my blog. In this blog, we learn about how to make a double line P10 display with a W0 Wi-Fi controller
Parts required:
- P10 tile
- W0 controller
- Power supply
- FRC cable
Wiring :

Software: Led Art
Steps :
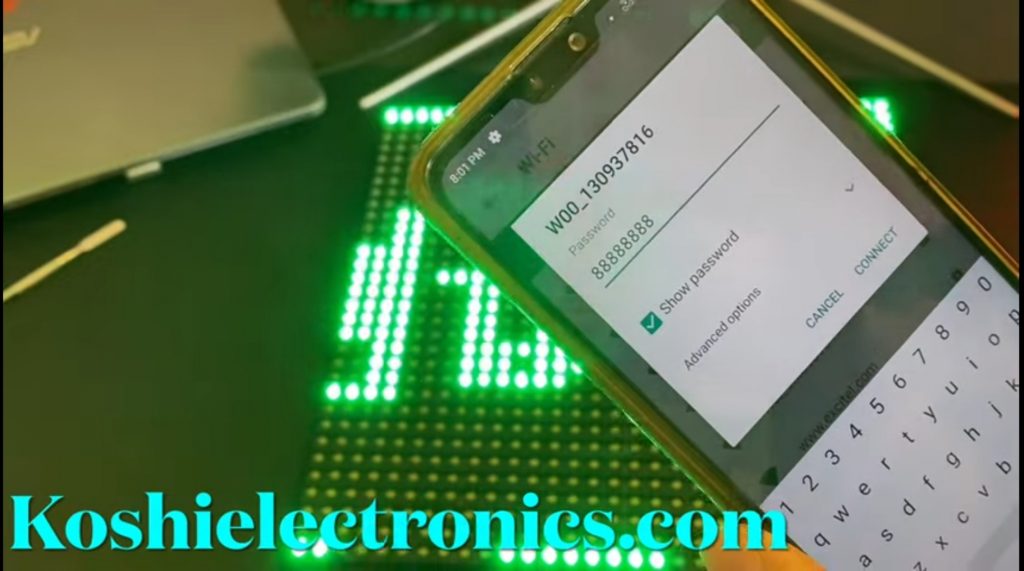
Step 1 Go to the wi-fi and connect the wi-fi. Name of wi-fi is W00_130937816.After that enter the password ie..88888888 then, click on connect. We see that wi-fi is connected.

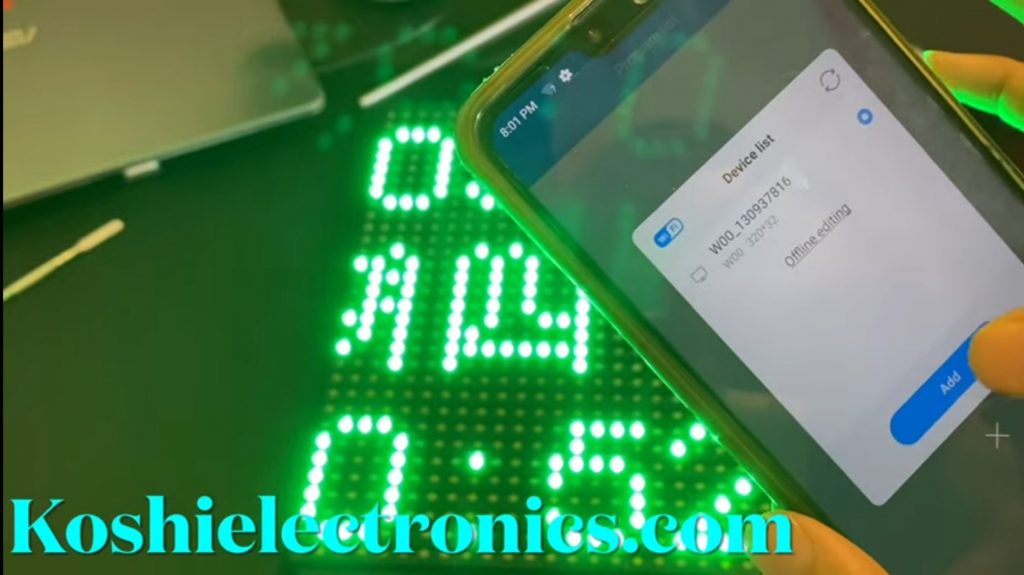
Step 2 Open the Led Art app .After that create a display. On the screen we see the card name W00_130937816,then press add button.

Step 3 After that make the settings, we have 2 tiles .Select width 32 ,height 32 ,device name W series etc. you can select accordingly then press OK.

Step 4 Next display is open. Here we enter the text whatever you want to display on the board. We click on display statics then click on continuous move left then click on send button. We see that text is moving.

Step 5 You can also set the border, control the speed of text and so many things according to you for P10 display board.

