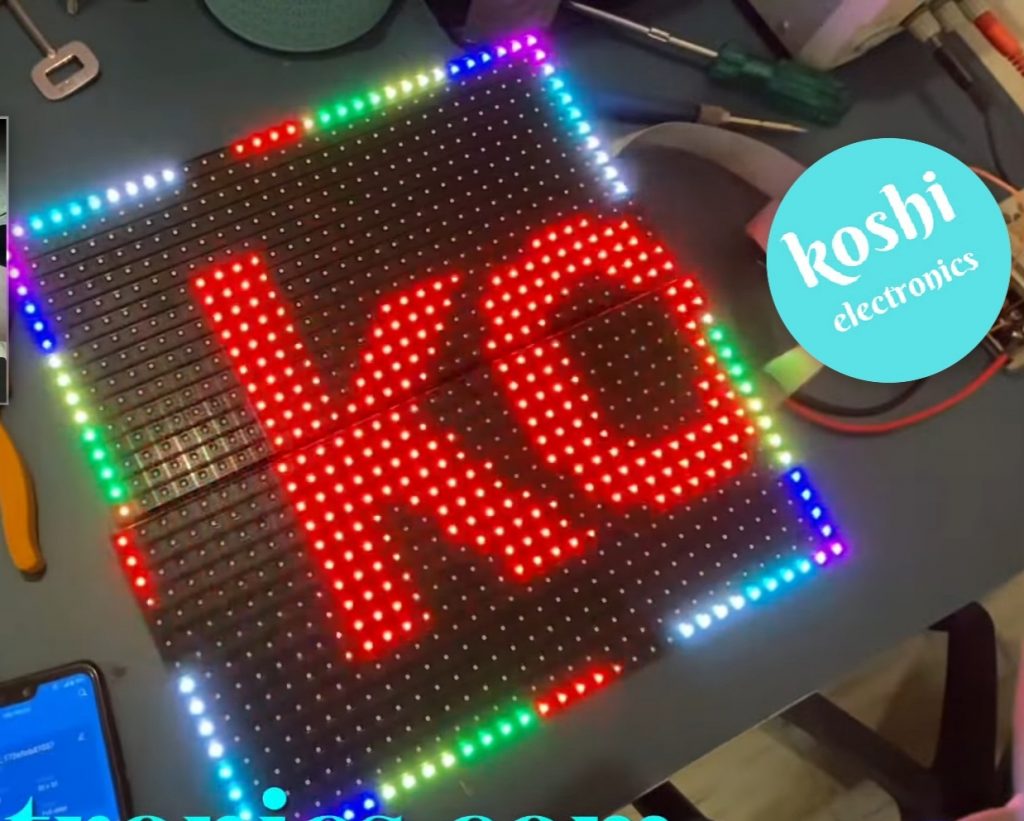
Hello, friends welcome to my blog. In this blog, we learn about how to make 2 line RGB P10 display from the wf2 controller.
Parts required :
- P 10 RGB Tile https://koshielectronics.com/product/p10-rgb-led-module/
- Power supply https://koshielectronics.com/product/5-volt-20-amp-smps/
- wf2 controller. https://koshielectronics.com/product/p10-display-controller/
Wiring :

Software : HD 2018 Or android app
download – App
Steps to be followed :
Step 1 Turn on the power supply.
Step 2 Now turn off the mobile data then go to the wi-fi. Connect the device to wi-fi. Wi-fi name is WF2_172e5cb87057.In case this name is not shown what you have to do is to turn off the supply for a while and then on the supply. With this, our wi-fi name is going to be a show. After that enter the password ie..88888888 then, click on connect.We see that wi-fi is connected.

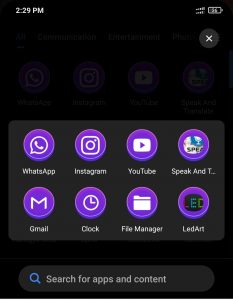
Step 3 Open the Led Art app. After that create a display. On the screen, we see the card name WF2_172e5cb87057, then press on add button.
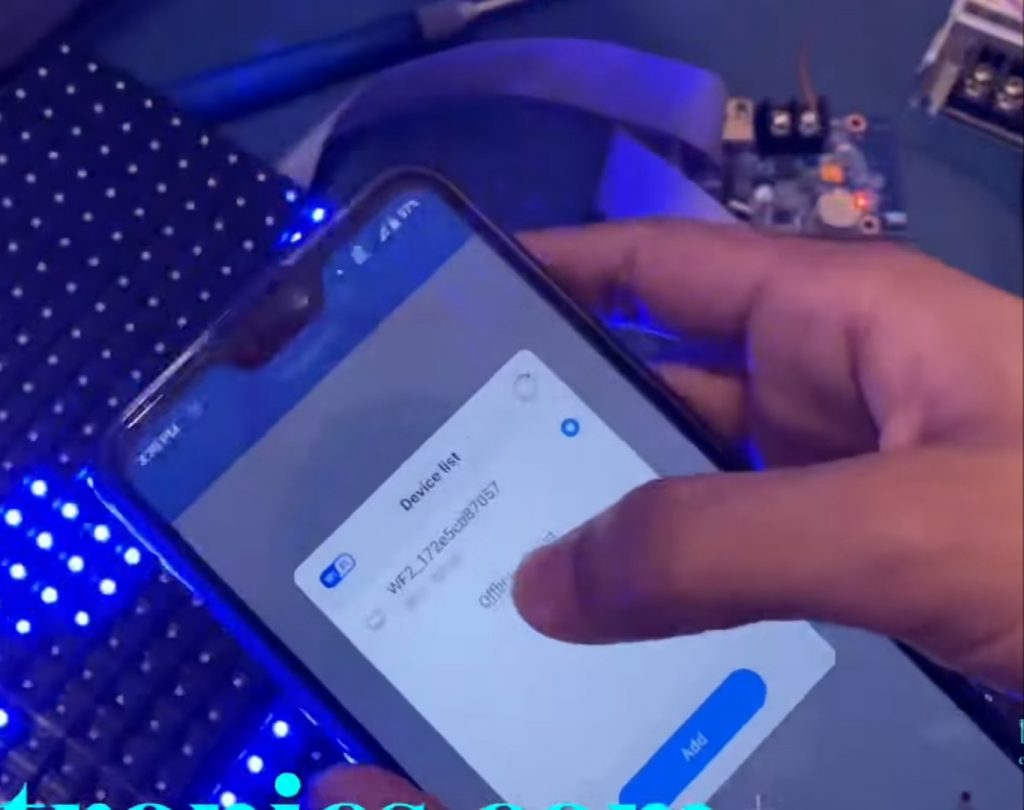
Step 4 After that make the settings, we have 2 tiles. Select RGB P10 display width 32, height 32, device name W series, etc. you can select accordingly then press OK.

Step 5 Next screen is open. Here we enter the text whatever you want to display on the board. You can write text in a colorful way also. For this, you have to select the text then click on the color which you want. You can also change the font size of text, speed of text, etc. whatever you want to change. After that click on the send button.
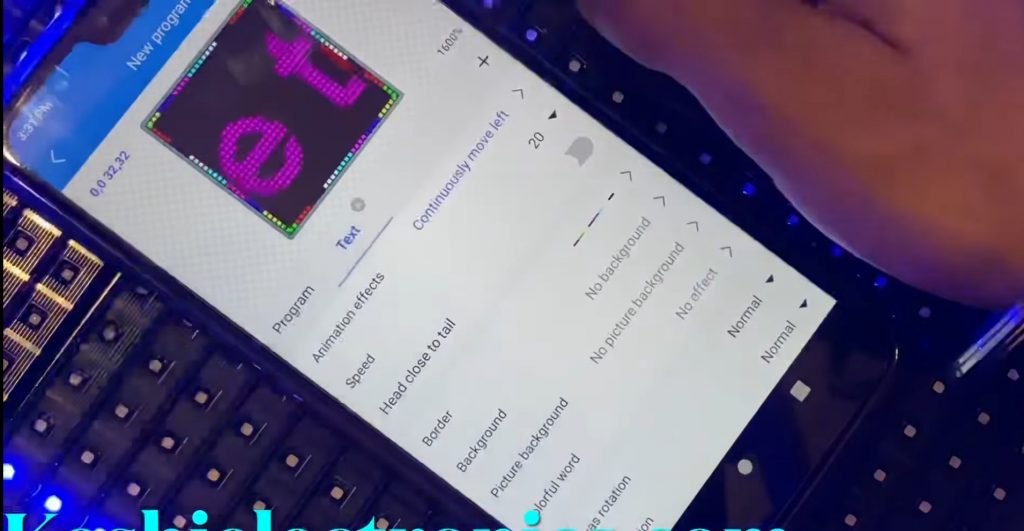
Step 6 On the RGB P10 display text is running upside down. To solve this problem you have to select the correct IC number of the RGB P10 display board.

Step 7 To solve this problem you can go to the first device then click on hardware. After that enter password ie..888. The next screen is open. Here you can select C39 which is the P10 number. After select this press on manual configuration. If the device show disconnected you have to reconnect again with the same procedure as mentioned in step 2.
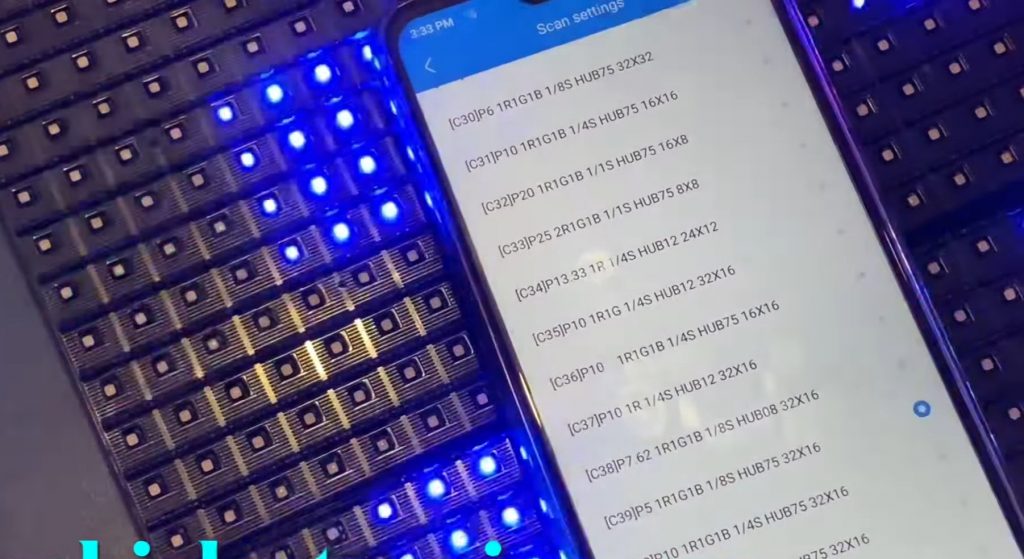
Step 8 After reconnected press on manual. As soon as our IC matches perfectly we see that on RGB P10 display text moving properly.
