Hello, friends welcome to my blog. In this blog, we learn about
How to program led badge display
Parts required:
- Led badge – https://amzn.to/3boY4gb
About led badge display: In this display, we have two buttons. A symbol is given in front of each button so that we will know which button will be used for what purpose. When we press the power button for some time the display is on first we see the battery symbol after that text is displayed which we have fed on. When we press on the setting icon the brightness has been changed.

Use: Led badge display is used on marriages, parties, etc. so that we can be able to identify each service separately.
Steps to program led badge display :
step 1 Firstly connect the cable to the laptop or computer. After that connect the device to another side of the cable.
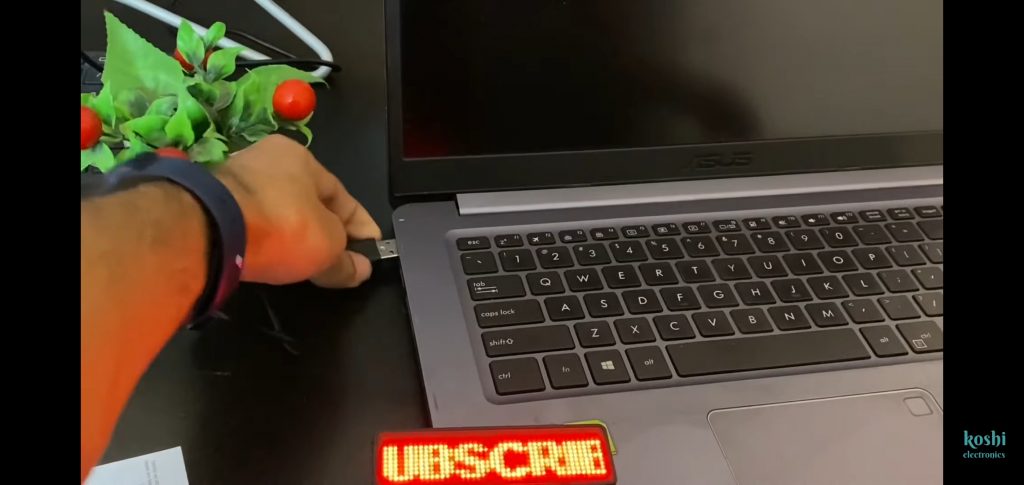
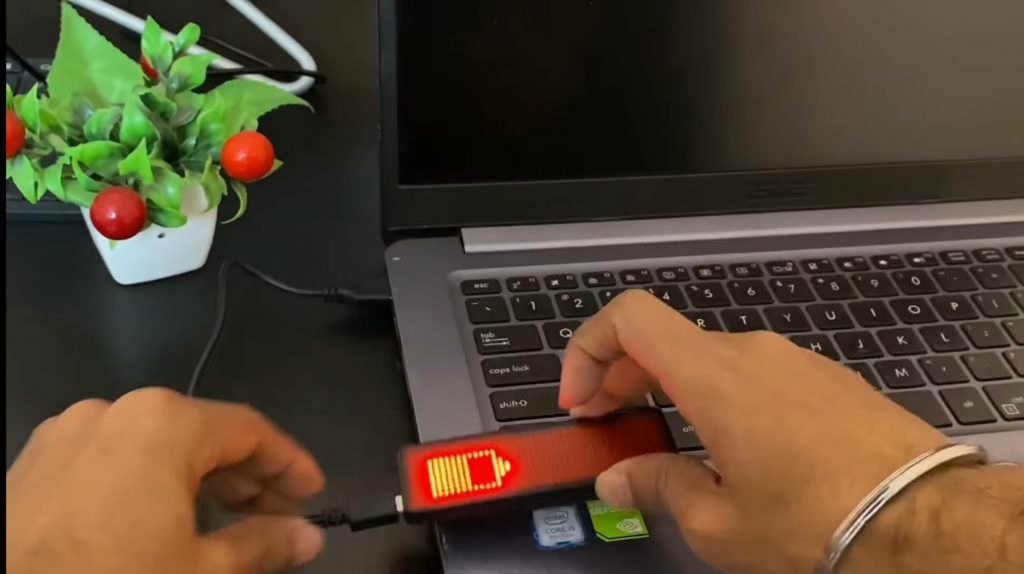
Step 2 When you connect the USB that goes to my computer. Here we see the USB folder click on that here we see HD Smart V3.9.exe software name click on that and install it.

Step 3 After installation they said that select screen size. According to your display select this. On the cover, the display size is also mentioned you can see it there also.
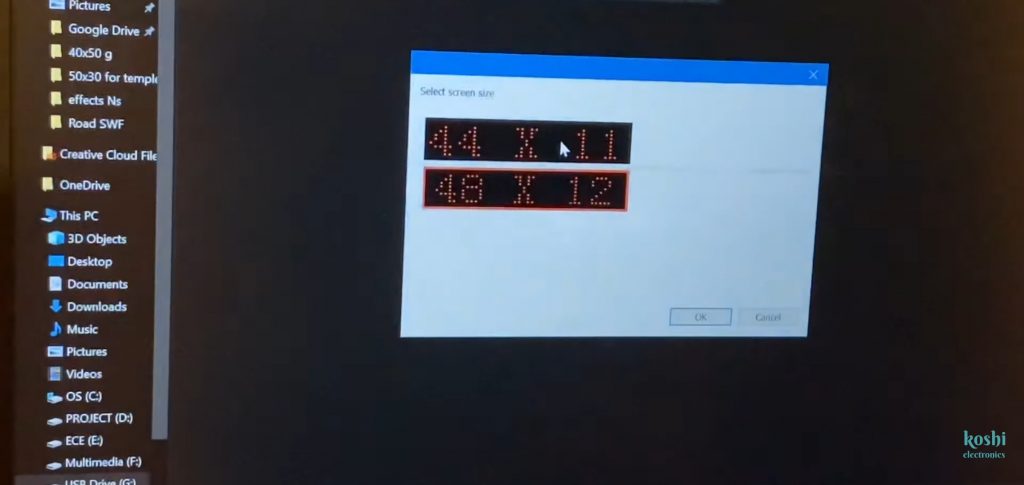
Step 4 After that we see the two displays one for the text and another in which text is the display.
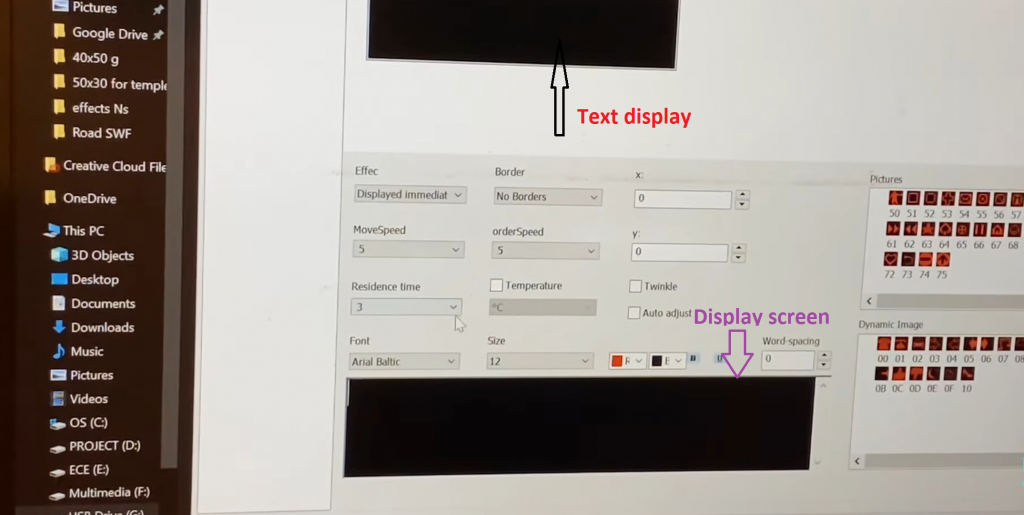
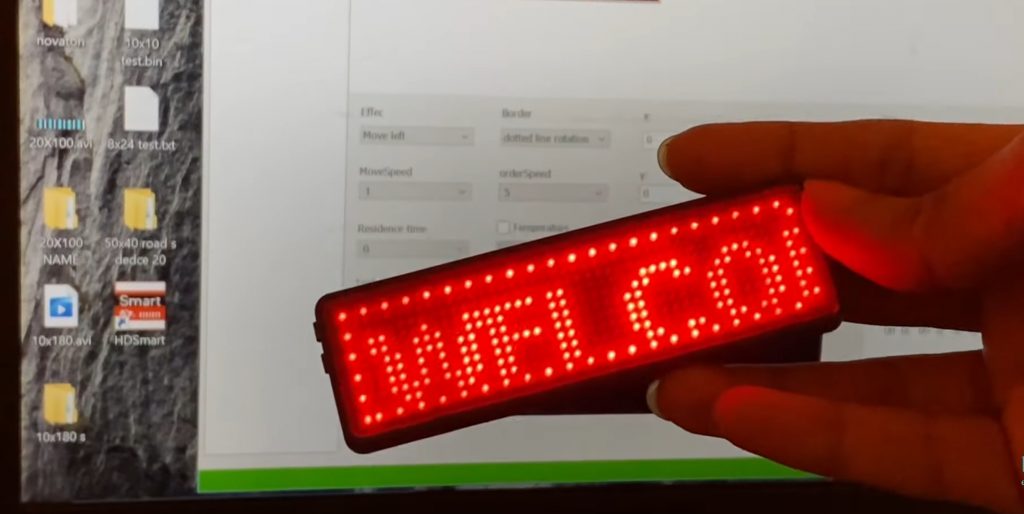
Step 5 Now we enter the text on text display. Here you can set the speed of text, effect, bold the text, set the border, etc. according to your need. After that click on send. We see that text is moving on it. After that remove the display from the USB. Press on the power button of the led badge display we can see that text is moving on it.

Step 6 You can also show the image on the board by click on the image given on the right side of the screen.

