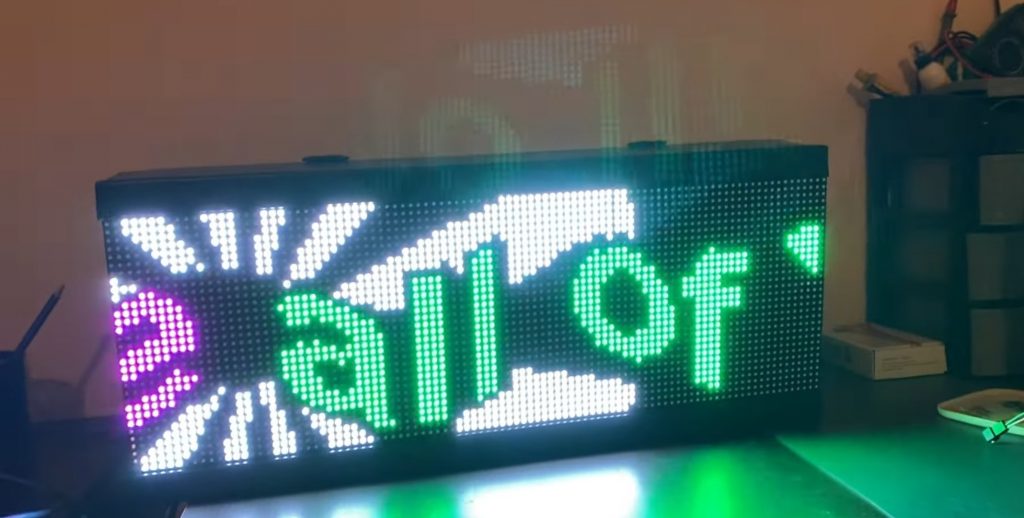
Hello friends welcome to my blog. In this blog we learn about How to use HD 2018 software for programming P6,P8,P10 display module.
Software : HD 2018
How to download HD 2018 software :
To download HD 2018 software, first of all, you will open Google, after that, you have to search koshielectronic.com, after that go to the software section, we see the software name HD 2018. Click on that and download this software.

Steps how to make animation on HD 2018 software:
Step 1 Open the HD 2018 software
Step 2 Go to file then new screen and then enter the password ie…888 then click Ok .

Step 3 Next screen will be open, what is there will ask us the card name, then the card name is HD-WF1 which is used for RGB tile. The total P6 tile used is 3. In one title there is a 32*32 matrix. Than 32*3=96.In height, we have 32 leds.
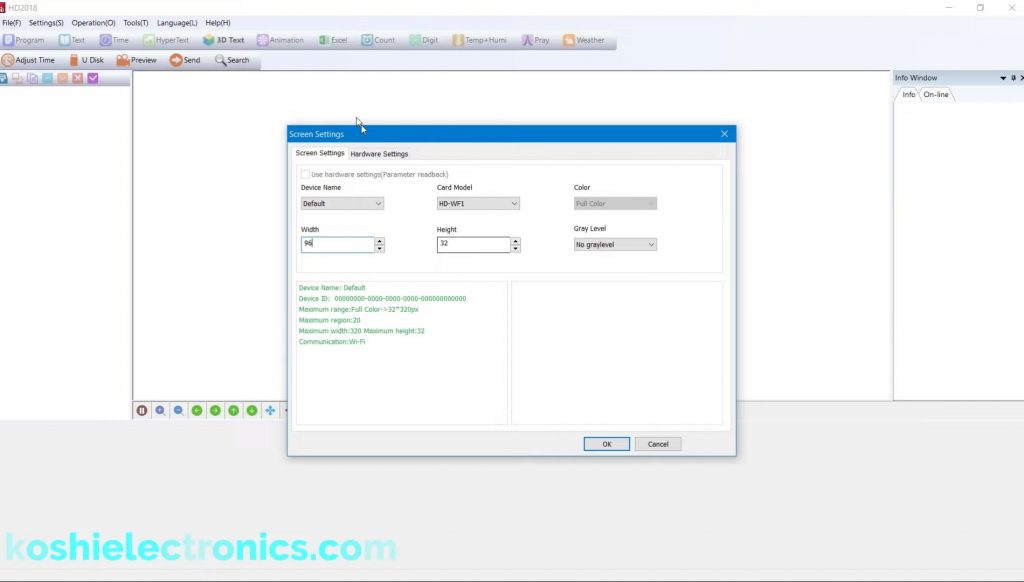
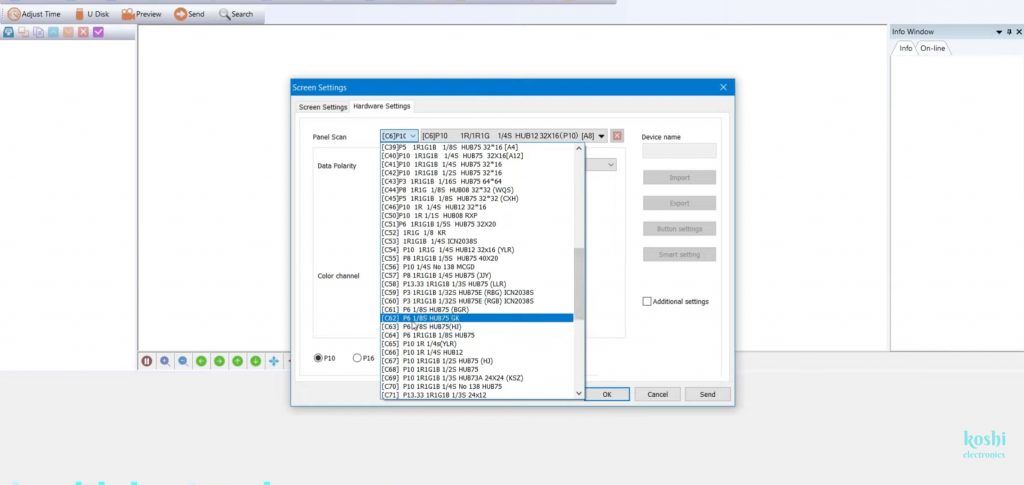
Step 4 There is another setting Hardware Setting. In panel scan, you can select the IC number. Wherever you buy this tile, you will ask from there what IC it is used in. After that select the IC number. Our tile which we used is [C62] P6 1/8S HUB75 GK. If you don’t know then one by one apply for the number according to your tile. The number that matched that is your IC number.
Step 5 Now next screen is open. Here we want to run 3d text .On the screen we see the 3D text option press enter. After that it shows a region on the screen. Our text will go as far as pulling region.

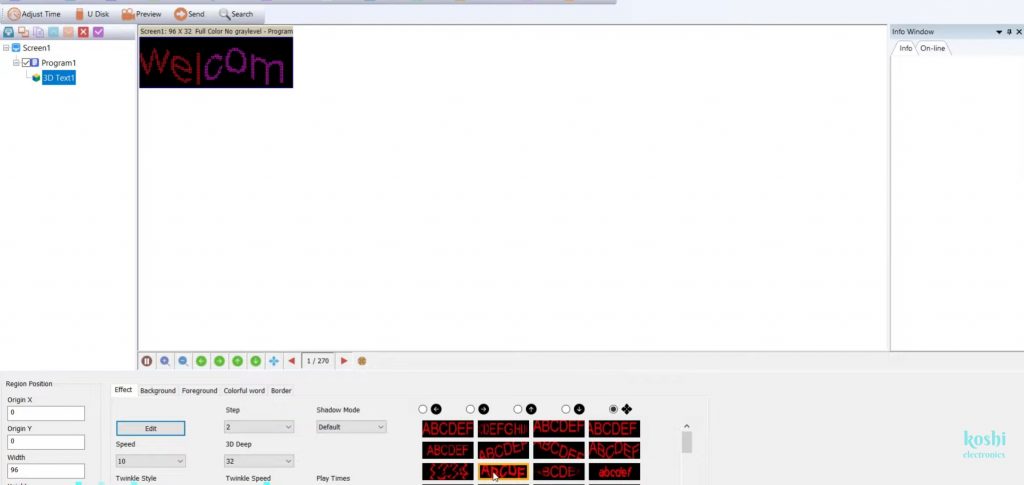
Step 6 At the bottom of the screen we see different options like effects, background etc. Another option are also there like zoom in, zoom out, left ,right, up, down etc , you can apply any of these according to your choice.

Step 7 Now we enter the text ,first we press on edit option .After that set the width and length and also select the colour whose text you want to play, then write the text.
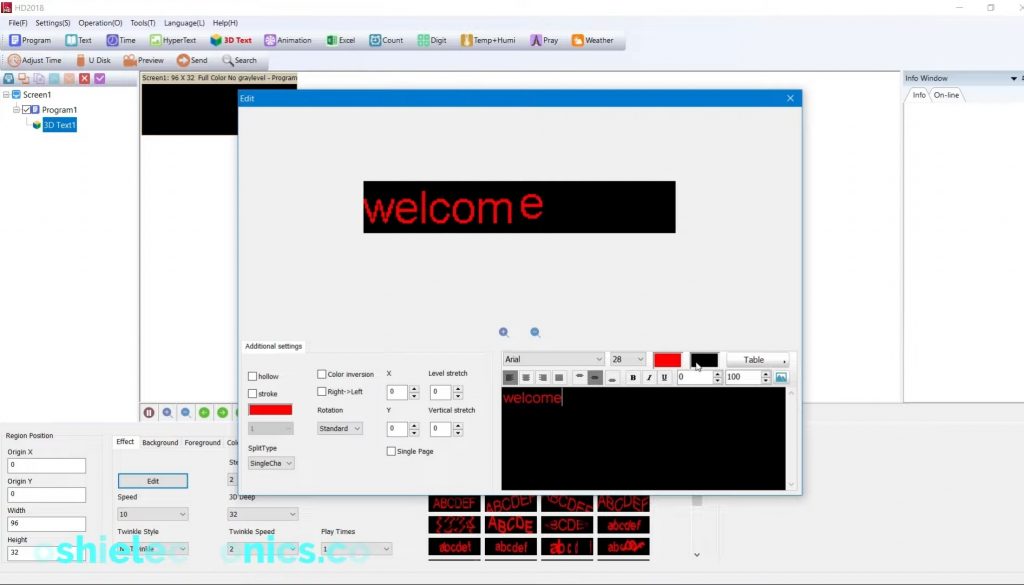
Step 8 We see some arrows like left, right, up, down. When we click on that the text is running accordingly. When we go to the movement side when we click on that text is moving accordingly. We can also bold the text and maintain the speed of text and so many things can be changed so you can make changes according to you.
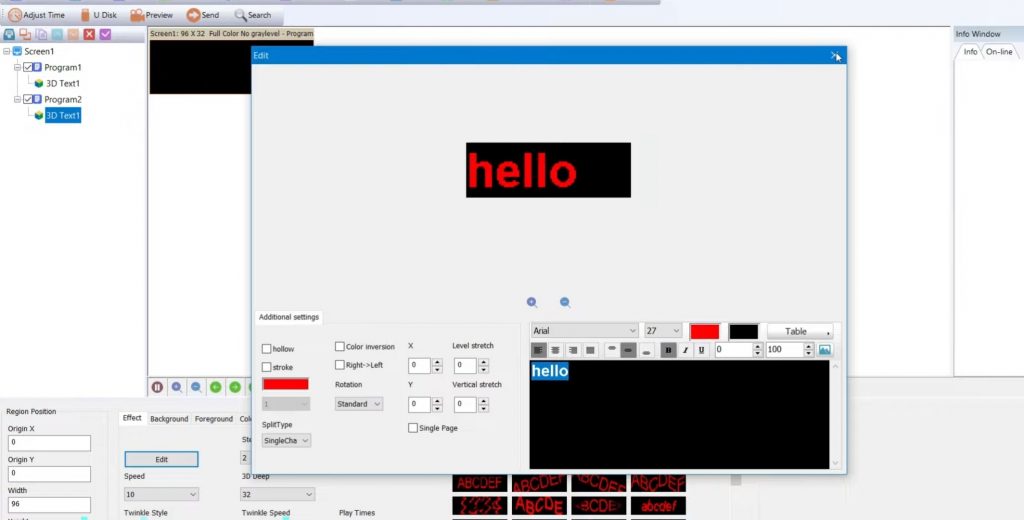
Step 9 Now make next program click on 3D,then go to edit,then write the text.You can bold the text and change the font size according to you .
Step 10 You can also set the background of your text .Go to background option then select background your choice

Step 11 To show colourfull words go to colourfull word option select any of them which you want.
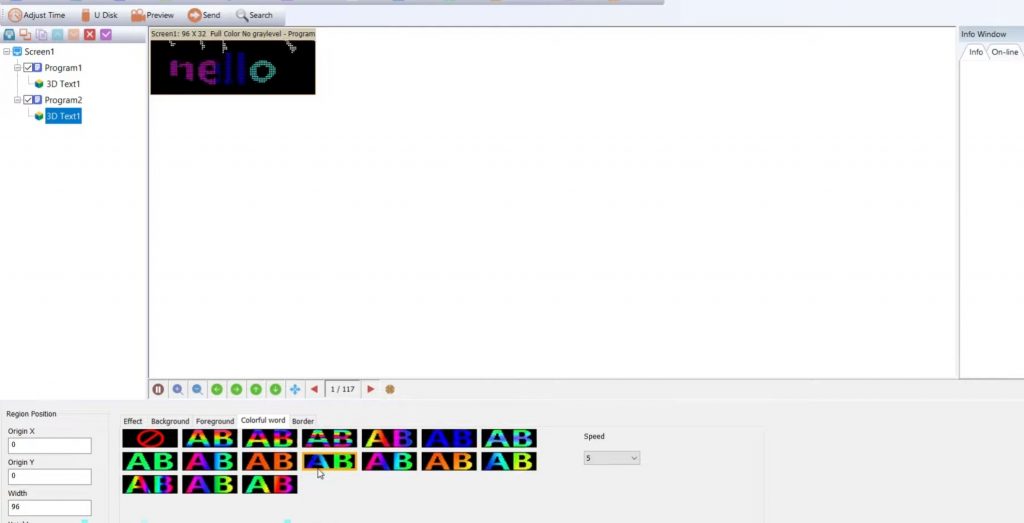
Step 12 Now we take the output so what we have to do is connect the pen drive to the computer. After that format the card. Now we see the U-disk option. In U-disk we see the file size. Now we see the removal disk option we export this.

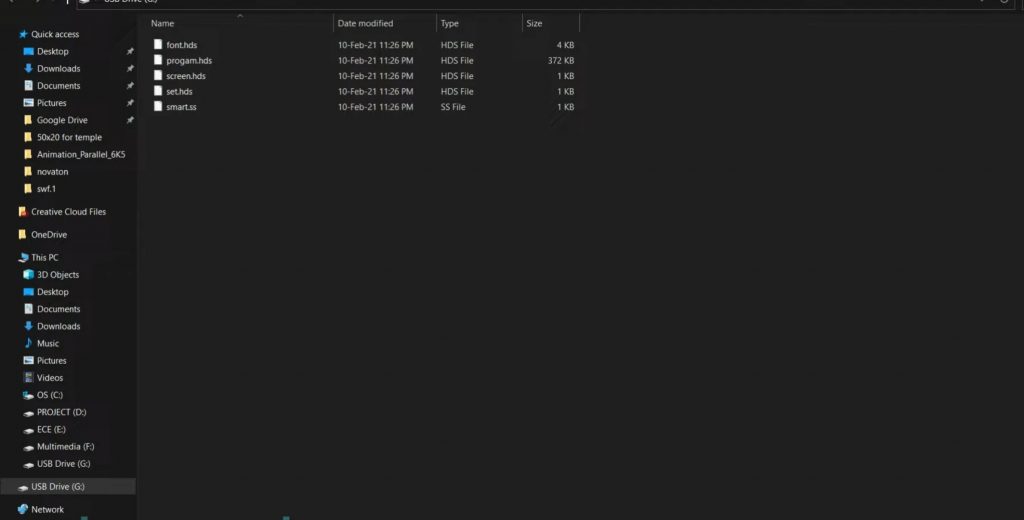
Step 13 After export the file the two program which we made are on the pen drive.
Step 14 In pen drive folder we see the different files. Now we connect this to display.
Step 15 Now we connect pendrive to display.You can also program through computer.
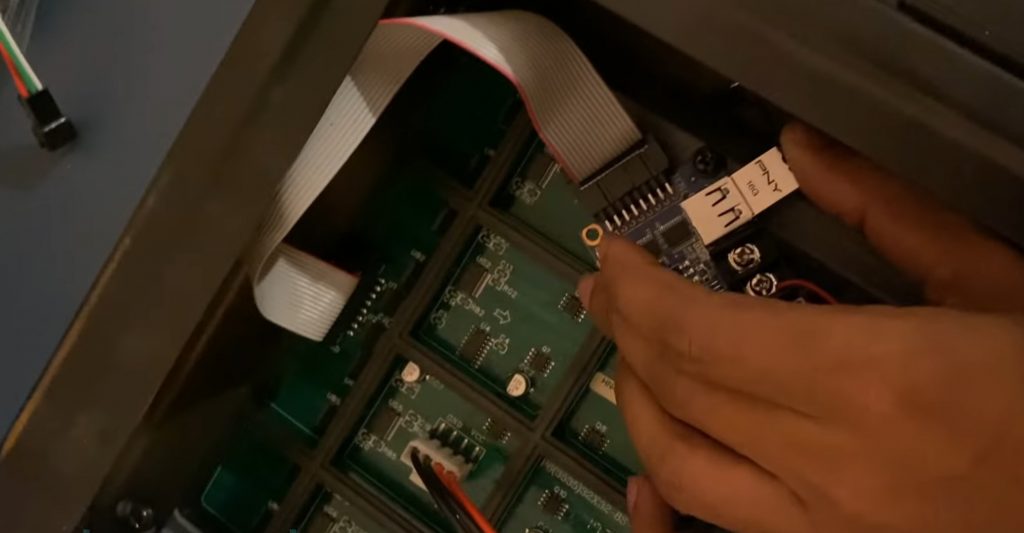
Step 16 Now power the display. On the screen, we see USB which means data is uploading. After that data is running on the display that means we select the correct IC number.
