Hello, friends welcome to my blog. In this blog, we learn about
P10 single color (W0) Wi-Fi controller
Parts required:
- W0 card controller
- Power supply 5V
- Connectors and FRC
- 32*3 P10 led display module-1
Wiring ofP10 single color (W0) Wi-Fi controller
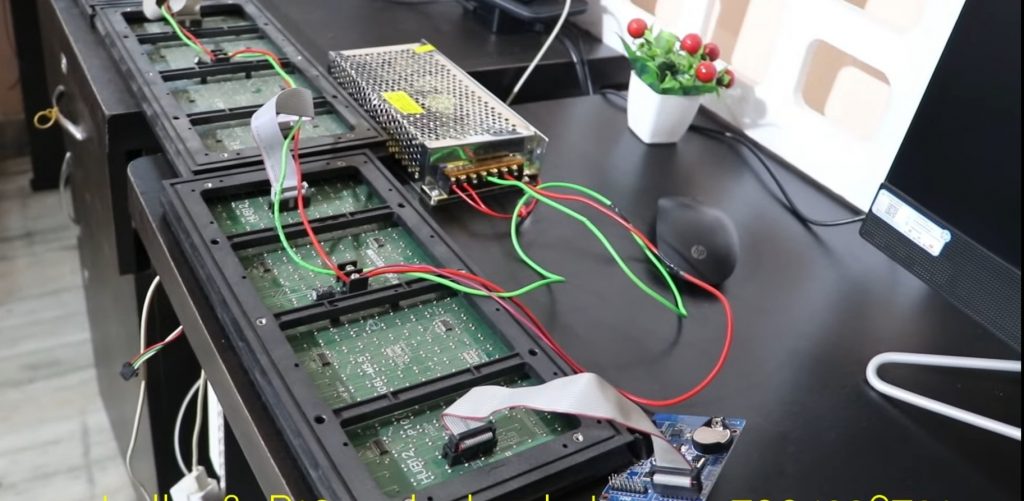
Software
download – App
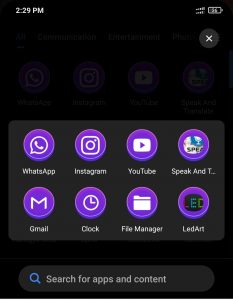
Steps to connect display with Led Art app:
Step 1 Power the controller
Step 2 Download Led Art software from playstore

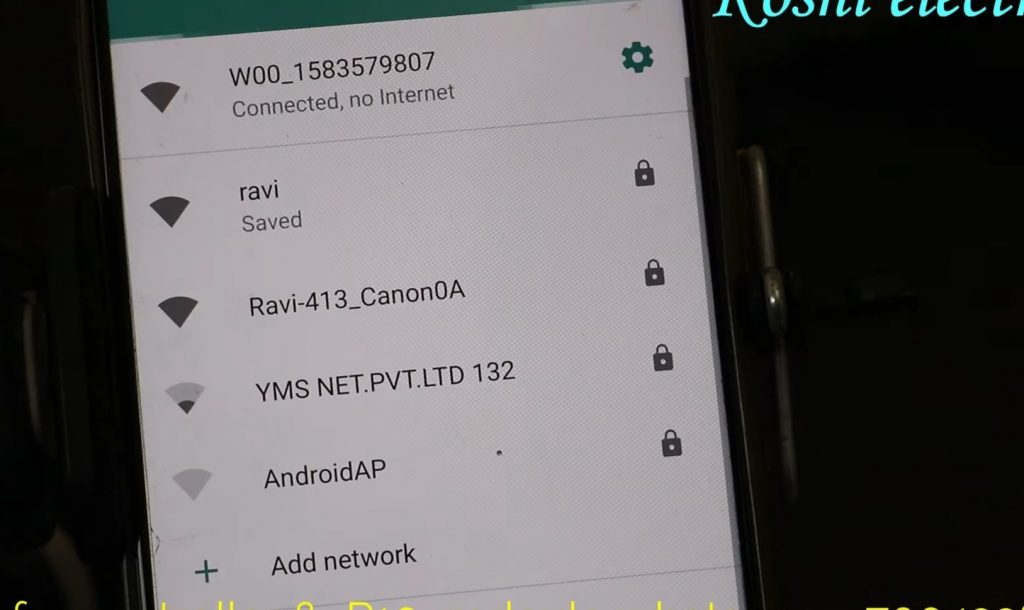
Step 3 Firstly turn off the power supply for a sec and then turn on.After go to the wi-fi andconnect the wi-fi.NaMe of wi-fi is W00_1583579807.In case this name is not shown what you have to do is again turn off the supply for a while and the on the supply.With this ,our wi-fi name is going to be a show.After that enter the password ie..88888888 then,click on connect .We see that wi-fi is connected.
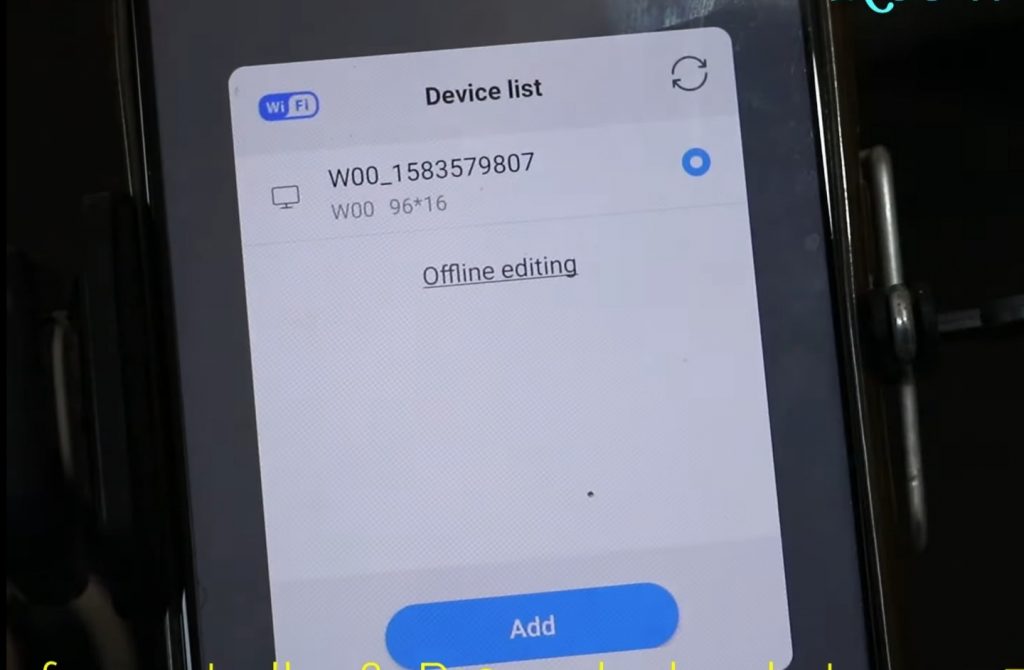
Step 4 Open the Led Art app.After that create a display.On the screen we see the card name W00_1583579807,then press add button.
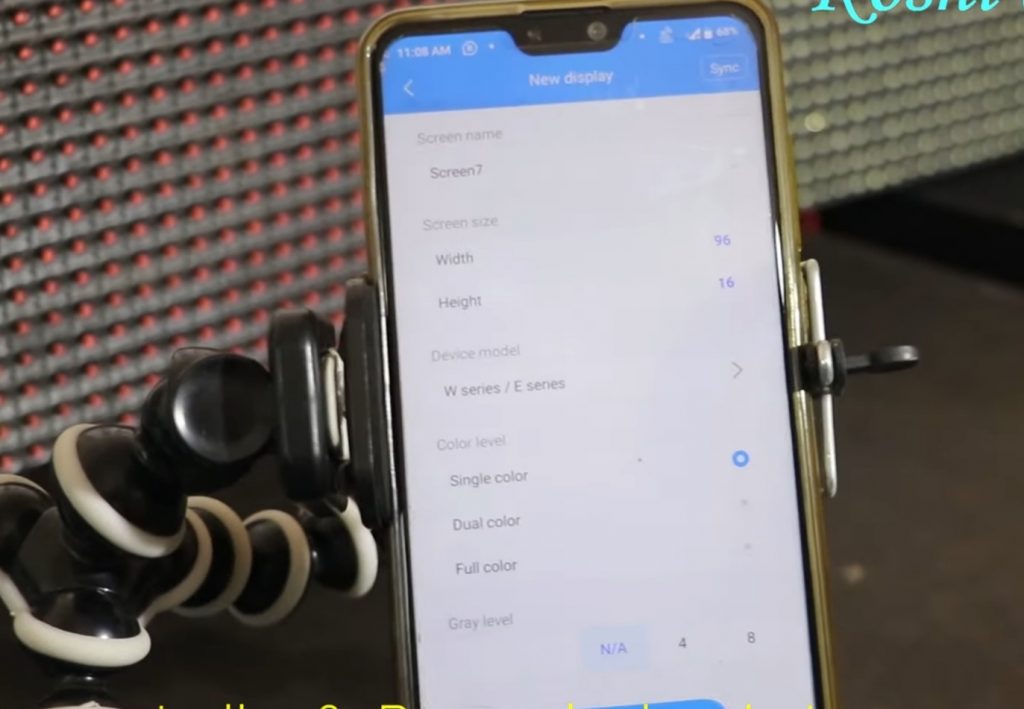
Step 5 After that make the settings,we have 3 tiles .How to calculate 96, the size of matrix of one tile,height has 16 led and in width there is 32 leds.So we have three tiles so how to calculate is 32*3=96.Select width 96 ,height 16 ,device name W series etc you can select accordingly then press OK.
Step 6 Next display is open.Here we enter the text whatever you want to display on the board.Here we see that display is moving very slowly,for this we click on display statics then click on continuous move left then click on send button to check how the text is moving.

Step 7 We see that text is moving fastly,we click on return button then we see the speed option,we set our speed 20.To bold the text click on B.After that click on send button.
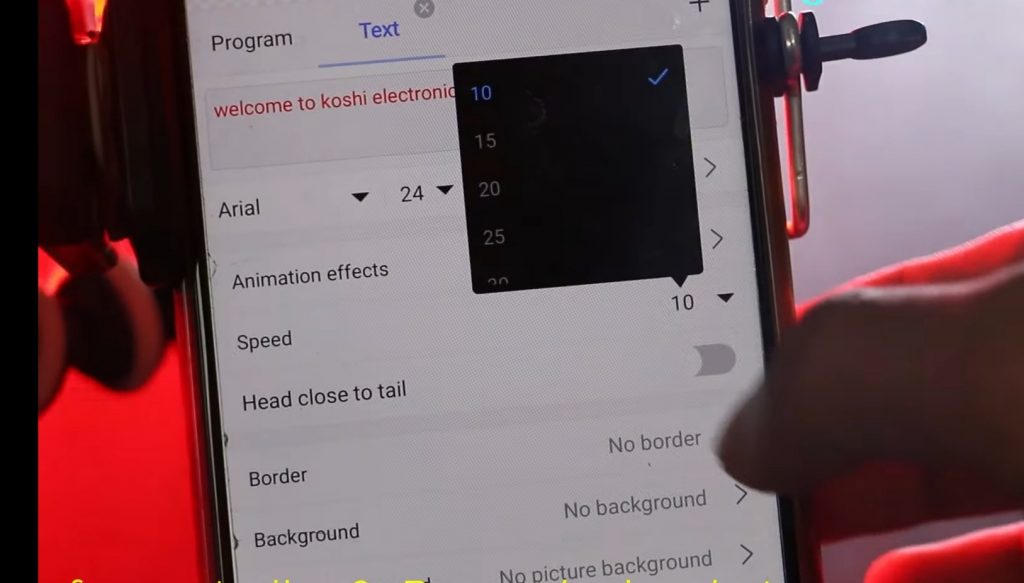
Step 8 Now we set the border.Go to border option.According to you, you can select the border whether you want one line border or two line border then click on send .
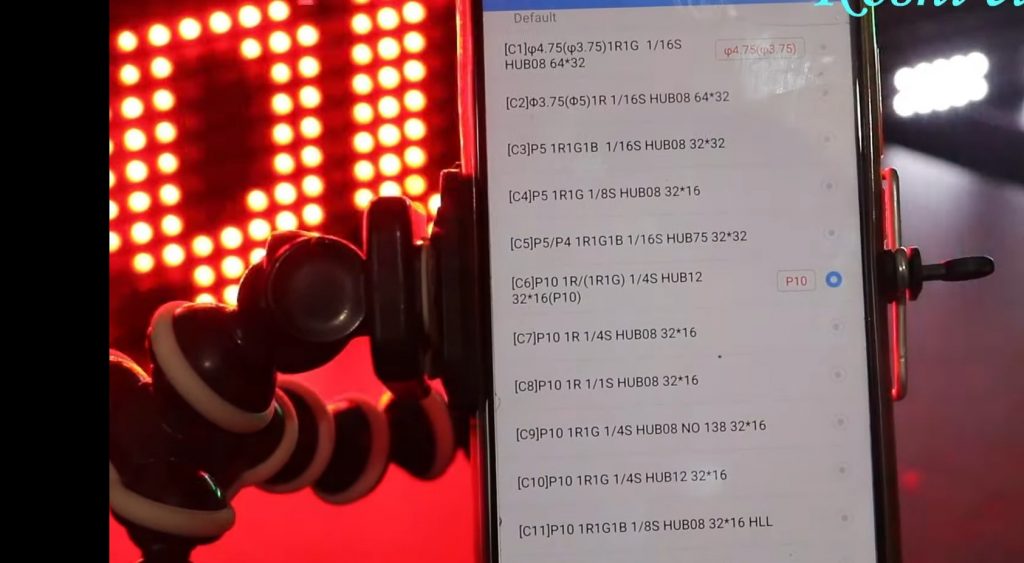
Step 9 The tile of a lot of people will run upside down so what we have to do is go to device option then hardware then enter the password ie..888.This is called scanning mode.We see the list of P10,click on P10 16*32 then press send.According to you,you can select this.
Step 10 What will I do if I want to drive a clock on it.Go to program after that we will reduce the size of new program we create.Lets run a number before the clock ,go to program,click on plus sign,click on add text.We had a number in the space which we had saved like 12345 then press send.

Step 11 Now we run clock ist delete the number then again go to program then add clock.Here we see two types of clock you can select clock of your choice then click on send.In this way you can run your display.

Video Tutorial – P10 single color (W0) Wi-Fi controller
